top of page
WORK IN PROGRESS (WIP)
P1: Revit Modelling & Documentation

STEP 1 : Building conformation


STEP2 : Creating a New Document and Inserting Reference Drawings
.png)
.png)
STEP3 : Creating Floors and Walls
.png)
.png)
STEP3-1 : Adding door and Window for Ground floor
.png)
.png)
.png)
.png)
.png)
STEP4 : Creating Window Families
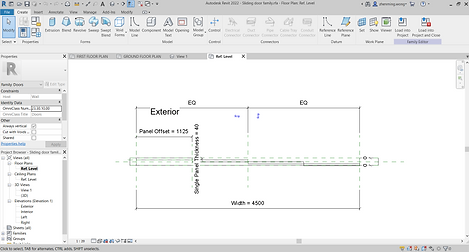
STEP5 : Creating Sliding Door Families
.png)
.png)
FLEX IT FORM
.png)
.png)
STEP6 : Creating Floors and Walls for First Floor
STEP6-1: Adding door and Window for First floor
.png)
STEP7 : Adding Room Tags
.png)
.png)
STEP8 : Adding Colour Fill Legends
.png)
.png)
STEP9 : Assigning Materials
.png)
STEP10 : Region Masking & Adding detail lines
.png)
.png)
STEP11 : Making Section Callouts
.png)
.png)
STEP12 : Making Room Schedule
STEP13 : Exploded Isometric
.png)
.png)
STEP14 : Documentation
.png)
.png)
.png)
.png)
P2:EXTERIOR & INTERIOR renderings
STEP1 : Adding Artificial Lights in Revit
STEP2 : Adding Camera View and Adjust interior perspective view
.png)
.png)
STEP3 : Test render effect in Revit
.png)
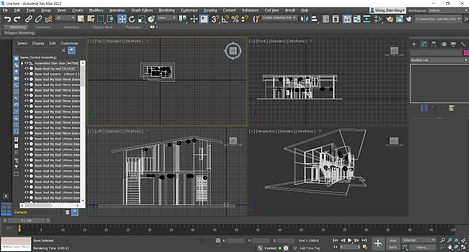
STEP4 : Importing to 3DMAX
STEP5 : Setting Up Camera

.png)
STEP6 : Placing Sun
STEP7 : Adjusting sun position


STEP7 : Test Render

.png)
STEP8 : Reposition Sun

.png)
STEP9 : Exterior View Render Outcome
.png)
STEP10 : Placing Camera in Interior
STEP11 : Test Render
.png)
.png)
STEP12 : Adding Furniture and decoration
STEP13 : Interior View Render Outcome
.png)
.png)
POST PRODUCTION
STEP15 : Import into Photoshop
STEP16 : Making background transparent
.png)
.png)
STEP17 : Adding Sky
.png)
STEP18 : Adding Trees
.png)
STEP19 : Adjusting Image level
.png)
STEP20 : Adding Shadow for Trees
.png)
STEP21 : Adding Human Figure
.png)
STEP22 : Adding Shadow for Human
.png)
FINAL EXTERIOR OUTCOME

STEP23 : Making Background transparent
STEP24 : Adding Sky


STEP24 : Adding Trees

STEP24 : Adding Shadows for Trees
.png)
STEP25 : Adding Human Figure
.png)
STEP26 : Adding Lighting effect
.png)
STEP27 : Adding Shadow for Human Figure

FINAL INTERIOR OUTCOME

bottom of page